Honda Civic Service Manual: Rear Door Quarter Glass Removal and Installation (4-door)

Removal
| 1. |
Rear Door Power Window Switch Panel |
|
|
|
1.
|
Remove the power window switch panel
(A).
|
|
|
|
|
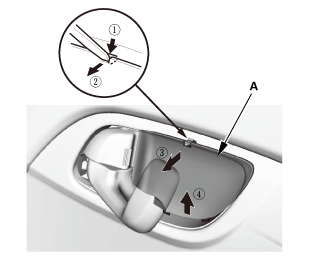
1.
|
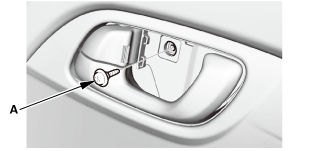
Remove the inner handle cap (A).
|
|
|

|
|
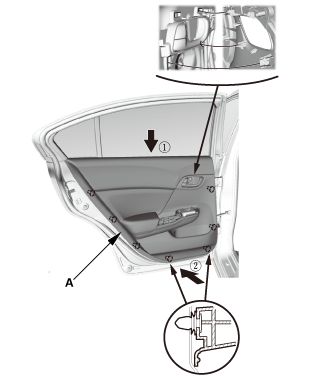
4.
|
Remove the door panel (A).
|
|
| 3. |
Rear Door Plastic Cover |
|

|
|
1.
|
Detach the harness clip (A).
|
|
2.
|
Remove the plastic cover (B).
|
|
| 4. |
Rear Door Rear Lower Channel |
|

|
|
1.
|
Remove the screw (A) and the bolt (B).
|
|
|

|
|
2.
|
Remove the rear lower channel (A).
|
|
| 6. |
Rear Door Quarter Glass |
|

|
|
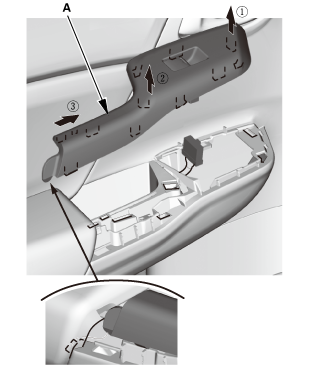
1.
|
Remove the rear door quarter glass (A).
|
|

Installation
| 1. |
Rear Door Quarter Glass |
|

|
|
1.
|
Install the rear door quarter glass (A).
|
|
|

|
|
1.
|
Install the glass (A).
|
|
|

|
|
2.
|
Install the bolts (A).
|
|
| 3. |
Rear Door Rear Lower Channel |
|

|
|
1.
|
Install the rear lower channel (A).
|
|
|
 onmmlnmmto onmmlnmmto
|
|
2.
|
Install the screw (A) and the bolt (B).
|
|
| 4. |
Rear Door Glass - Adjustment |
|

|
|
NOTE: Check the door weatherstrip and
the glass run channel for damage or deterioration,
and replace them if necessary.
|
|
1.
|
Place the vehicle on a firm, level surface
when adjusting the door glass.
|
|
2.
|
Carefully lower the glass (A) until you
can see the glass mounting bolts (B), then
loosen them.
|
|
3.
|
Push the glass against the glass run
channel, then tighten the glass mounting
bolts.
|
|
4.
|
Check that the glass moves smoothly.
|
|
|

|
|
5.
|
Raise the glass fully, and check for
gaps. Also make sure that the glass (A)
contacts the glass run channel (B) evenly.
|
|
| 5. |
Rear Door Plastic Cover |
|

|
|
1.
|
Install the plastic cover (A).
|
|
2.
|
Install the harness clip (B).
|
|
|
|
|
1.
|
Install the door panel (A).
|
|
|
|
|
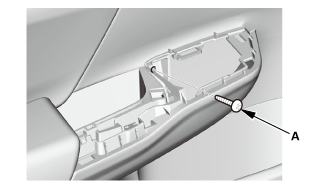
2.
|
Install the screw (A).
|
|
|
|
|
3.
|
Install the screw (A).
|
|
|
|
|
4.
|
Install the inner handle cap (A).
|
|
| 7. |
Rear Door Power Window Switch Panel |
|

|
|
1.
|
Install the power window switch panel
(A).
|
|
829100 LEFT
830100 RIGHT
Removal
1.
Rear Door Power Window Switch Panel
...
832120
Removal
1.
Rear Seat Cushion
...


 Rear Door Glass Removal and Installation (4-door)
 Rear Window Removal and Installation (4-door except
Natural Gas models)
Rear Window Removal and Installation (4-door except
Natural Gas models)