Honda Civic Service Manual: Parking Brake Adjustment (Disc Brake)

| 1. | Vehicle Lift |
|
| 2. | Rear Wheel |
|
|
|
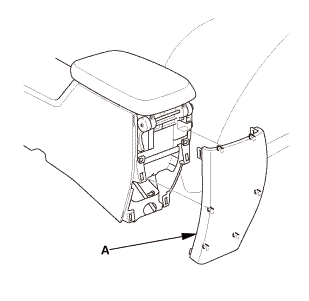
| 3. | Center Console Rear Trim |
|
|
|
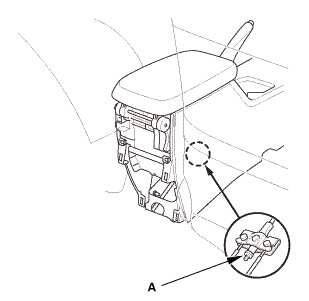
| 4. | Parking Brake Adjusting Bolt - Loosen |
|
|
|

| 1. | Rear Brake Caliper Lever - Contact Check (Disc Brake) |
|
|
|
||||||

| 1. | Rear Wheel |
|
|
|
||||||

| 1. | Parking Brake - Adjustment (Disc Brake) |
|

| 1. | Center Console Rear Trim |
|
|
|
 Parking Brake
...
 Parking Brake Adjustment (Drum Brake)
1.
Vehicle Lift
1.
Raise the vehicle on a lift, and make sure it is securely supported.
2. ...
See also:
Honda Civic Owners Manual. Smart Entry Remote Reminder
Warning buzzers may sound from inside and/
or outside the vehicle to remind you that the
smart entry remote is out of the vehicle. If the
buzzer continues even after the remote is put
back inside, place it within the system’s
operational range.
When the power mode is in ON
If the smart ...


 15mmumum