Honda Civic Service Manual: Front Door Opening Seal Removal and Installation
8351C0 DRIVER SIDE
8361B7 PASSENGER SIDE

Removal
| 1. |
Front Door Sill Trim - 4-Door |
|

|
|
1.
|
Remove the cap (A) from the front door
sill trim (B).
|
|
2.
|
Remove the opener lock cylinder (C).
|
|
|

|
|
4.
|
Remove the front door sill trim (A).
|
|
| 2. |
Front Seat Belt Lower Anchor Bolt - 2-Door |
|
|
|
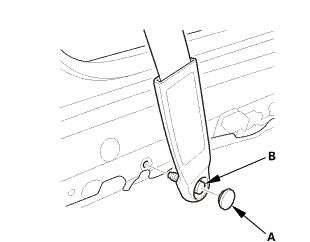
1.
|
Remove the lower anchor cap (A).
|
|
2.
|
Remove the lower anchor bolt (B).
|
|
| 3. |
Front Door Sill Trim - 2-Door |
|

|
|
2.
|
Remove the opener lock cylinder (B).
|
|
|
|
|
4.
|
Remove the front door sill trim (A).
|
|
|

|
|
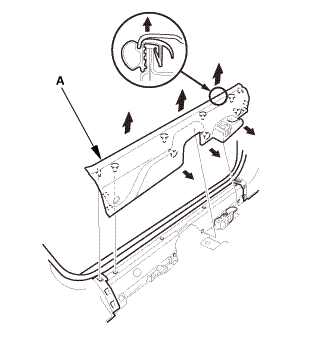
1.
|
Pull out the front door opening seal
(A) as needed.
|
|
2.
|
Remove the kick panel (B).
|
|
| 5. |
Front Door Opening Seal |
|

|
|
1.
|
Remove the front door opening seal (A).
|
|

Installation
| 1. |
Front Door Opening Seal |
|

|
|
1.
|
Install the front door opening seal (A).
|
|
|

|
|
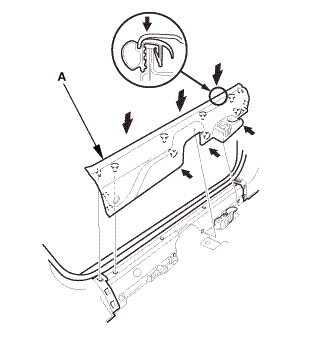
1.
|
Install the kick panel (A).
|
|
2.
|
Install the front door opening seal (B).
|
|
| 3. |
Front Door Sill Trim - 2-Door |
|
|
|
1.
|
Install the front door sill trim (A).
|
|
|

|
|
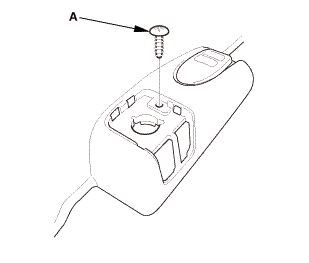
2.
|
Install the screw (A).
|
|
|
|
|
3.
|
Install the opener lock cylinder (A).
|
|
| 4. |
Front Seat Belt Lower Anchor Bolt - 2-Door |
|
 @@@ @@@
|
|
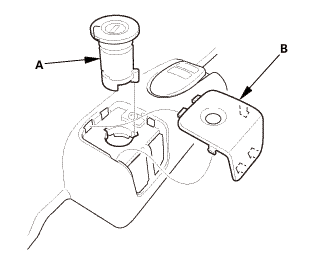
1.
|
Assemble the washer, the collar, and
the bushing on the lower anchor bolt as
shown.
|
|
NOTE: Apply medium strength liquid thread
lock to the lower anchor bolt before reinstallation.
|
|
|
 7/1s-2om-min 7/1s-2om-min
|
|
2.
|
Install the lower anchor bolt (A).
|
|
3.
|
Install the lower anchor cap (B).
|
|
| 5. |
Front Door Sill Trim - 4-Door |
|

|
|
1.
|
Install the front door sill trim (A).
|
|
|
|
|
2.
|
Install the screw (A).
|
|
|

|
|
3.
|
Install the opener lock cylinder (A).
|
|
4.
|
Install the cap (B) to the front door
sill trim (C).
|
|
8241C8 LEFT
8241C9 RIGHT
Removal
1.
Front Door Power Window Switch Panel (4-door)
...
8241F0 LEFT
8251F1 RIGHT
Removal
1.
Rear Door Power Window Switch Panel
...
 Front Door Glass Outer Weatherstrip Removal and Installation
(4-door)
Front Door Glass Outer Weatherstrip Removal and Installation
(4-door) Rear Door Glass Outer Weatherstrip Removal and Installation
(4-door)
Rear Door Glass Outer Weatherstrip Removal and Installation
(4-door)